For my current project I need tongs, and cheap light built ones are available on the internet, but I wanted them to be good for heavier crucibles too, and to spend even less. Plus it’s always a pleasure to get your own stuff from raw materials!
As in my last project, I’ve kept it simple, you won’t need welding, nor many fancy tools.
Materials
2 Steel rods, 6mm diameter and 1 meter long, 5.50€ (The most overpriced steel I’ve ever seen)
1 Bolt, 4x20mm
2 Washers, hole 4mm
2 Nuts, 4mm
Tools
Cross peen hammer
Thick piece of steel (To act as an anvil)
Drill ( Drill press would be better, but you can use handheld ones too )
4mm Drill bit (Suitable for hard metals)
Iron saw
Optional:
Blowtorch
Total cost: surely less than 6€
First of all: How to bend an angle
Don’t laugh at this, for the ones that have never tried it, it could look frustrating and somehow wrong.
You get your nice straight rod, you mark where you want the angle to be, then you hold the rod with the mark ON the border, not halfway, just completely on, because while bending it will move forward a bit.
Then, you start hammering outside the “anvil”, but near the border, or you’ll make a curve.
After a few strikes, you see the horrible truth: the side on the anvil is becoming a curve. You have to straighten it by just hammering the curve down, you’ll see you’ll lose a bit of the angle, but don’t worry, that’s normal, you won’t loose too much of it, just keep hammering!
Just one more note: when beginning you’ll probably hammer lightly to not break anything, well, don’t be worried, steel will get a lot of abuse before breaking, and no matter how strong, you won’t shatter it in a blow, so just go strong and you’ll see results!
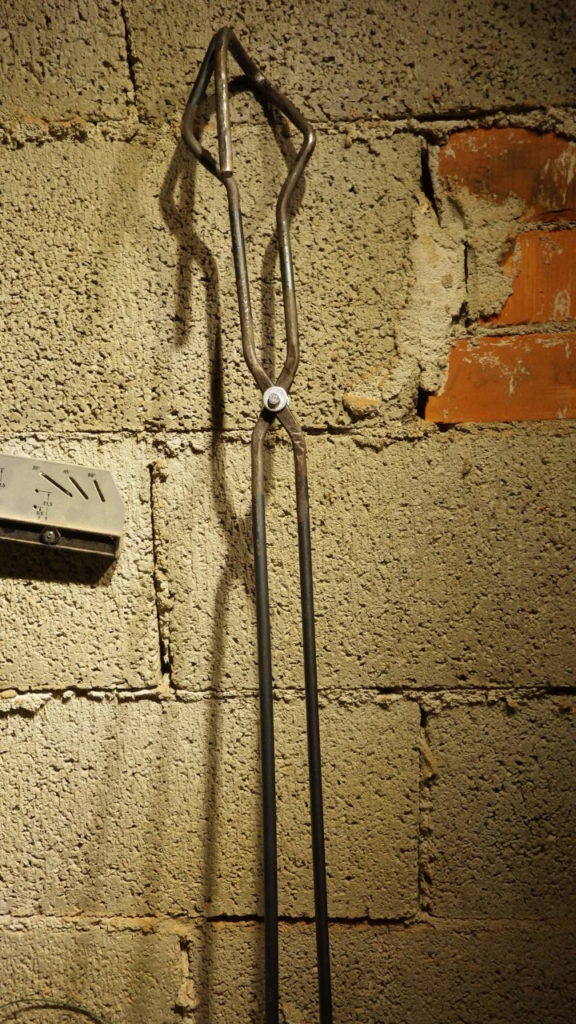
Making the tongs

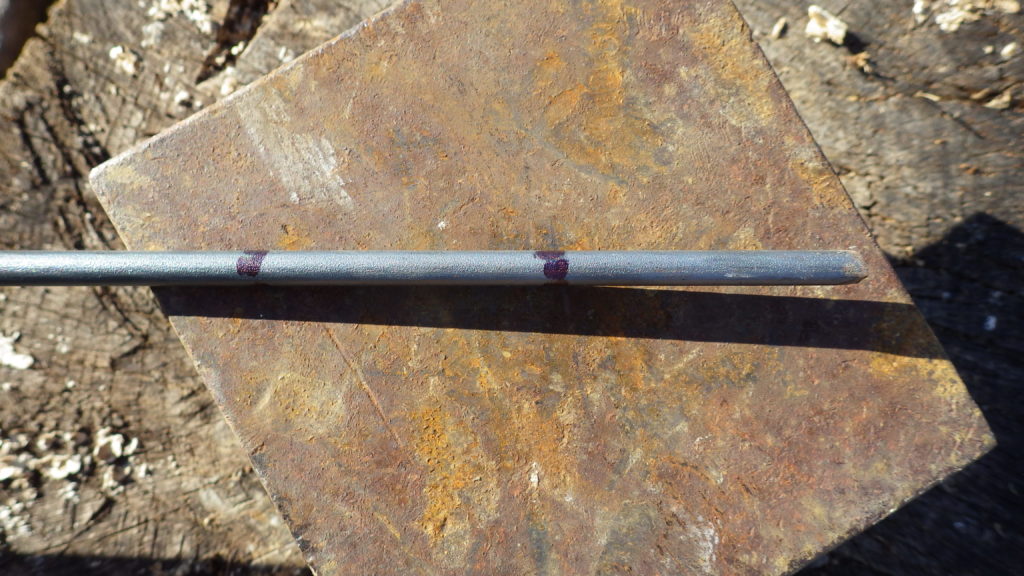
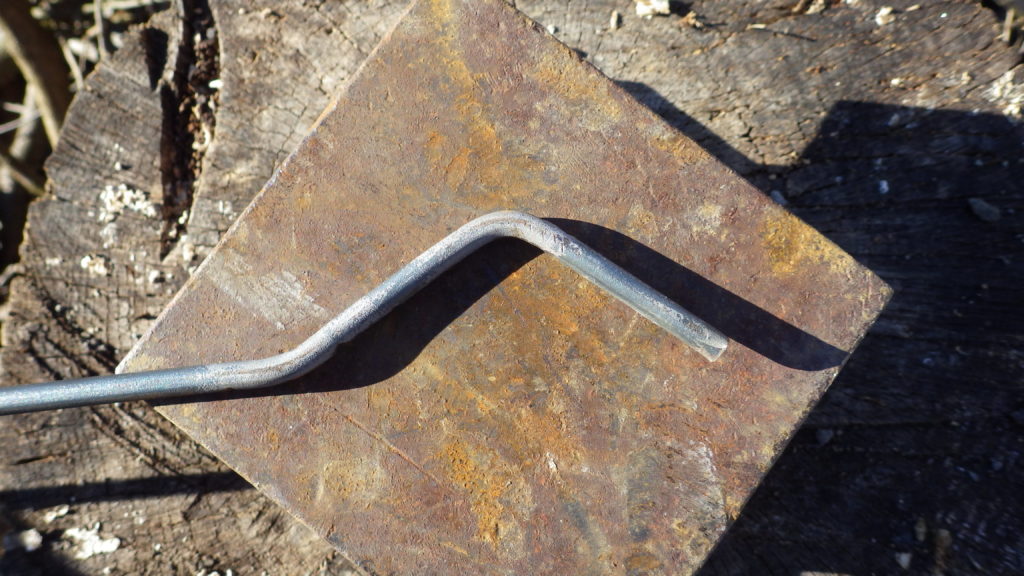
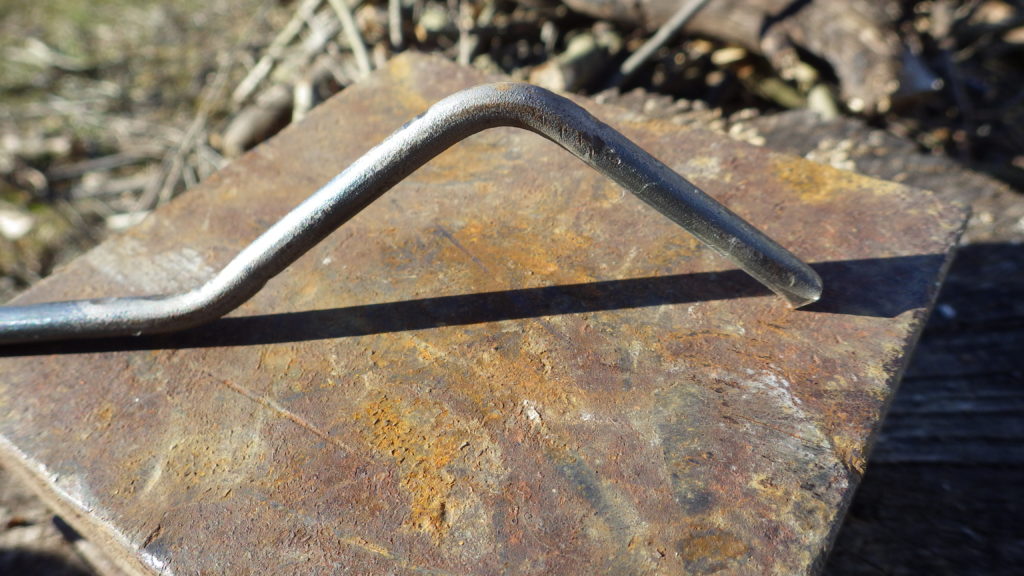
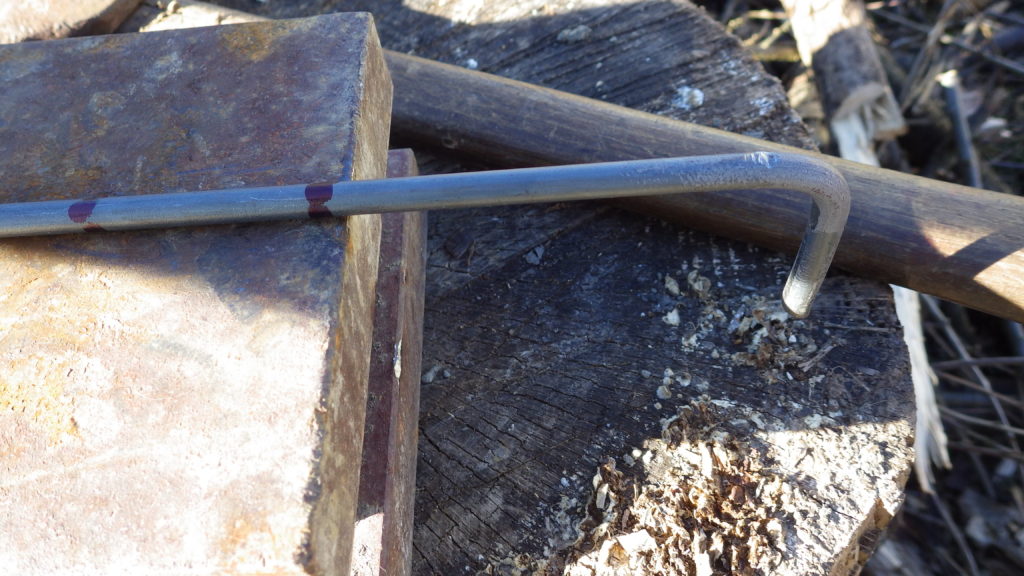
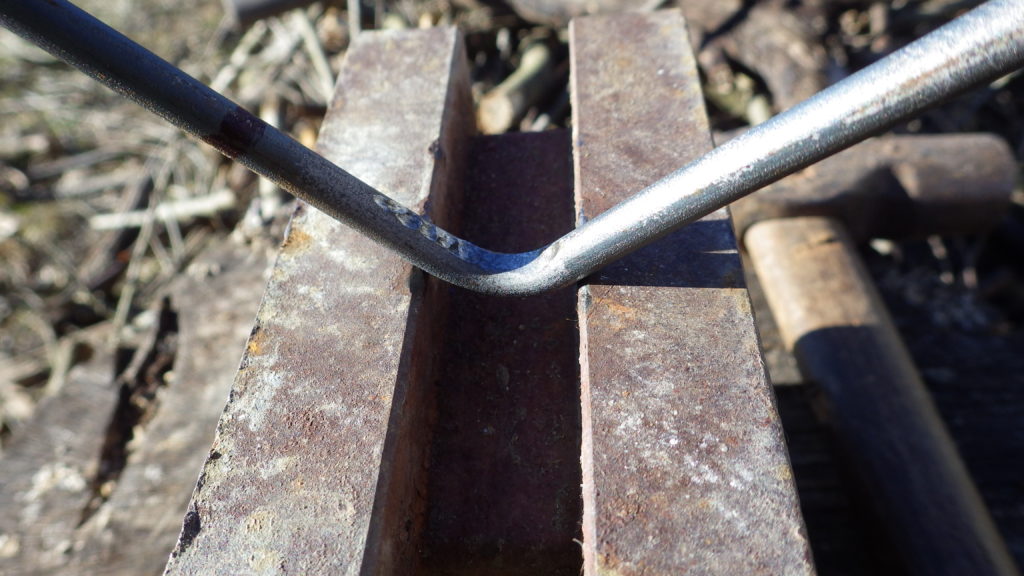
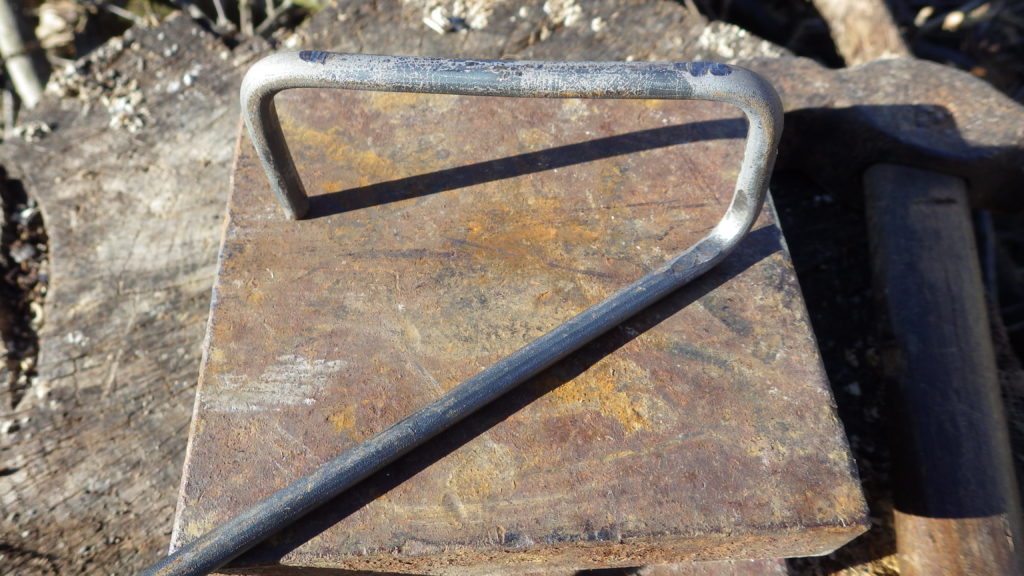
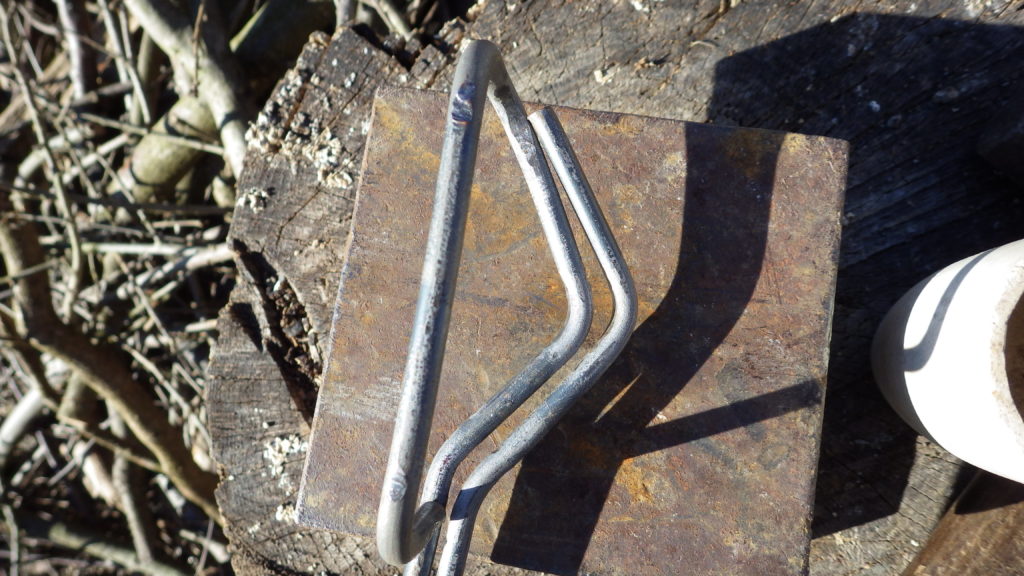
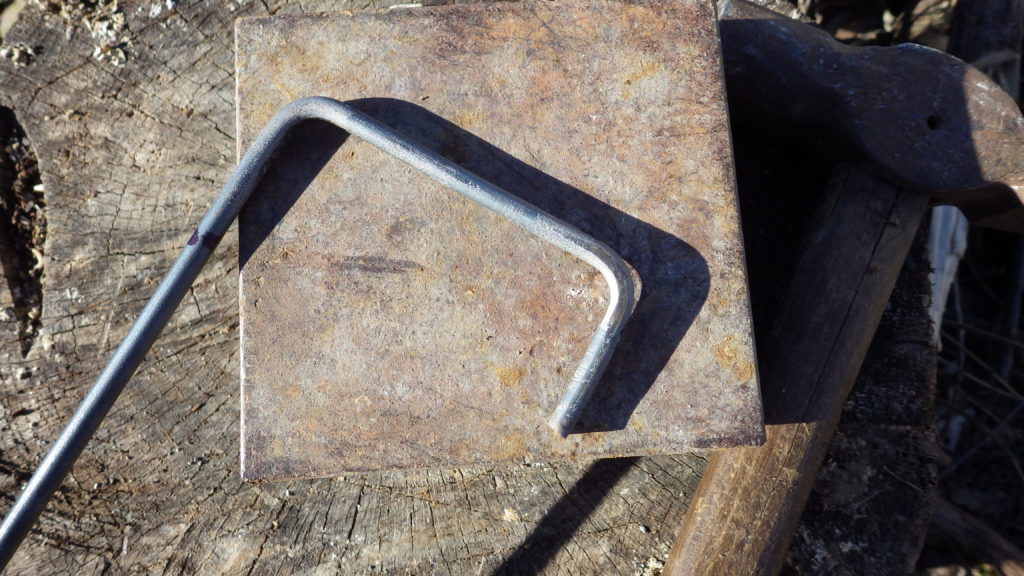
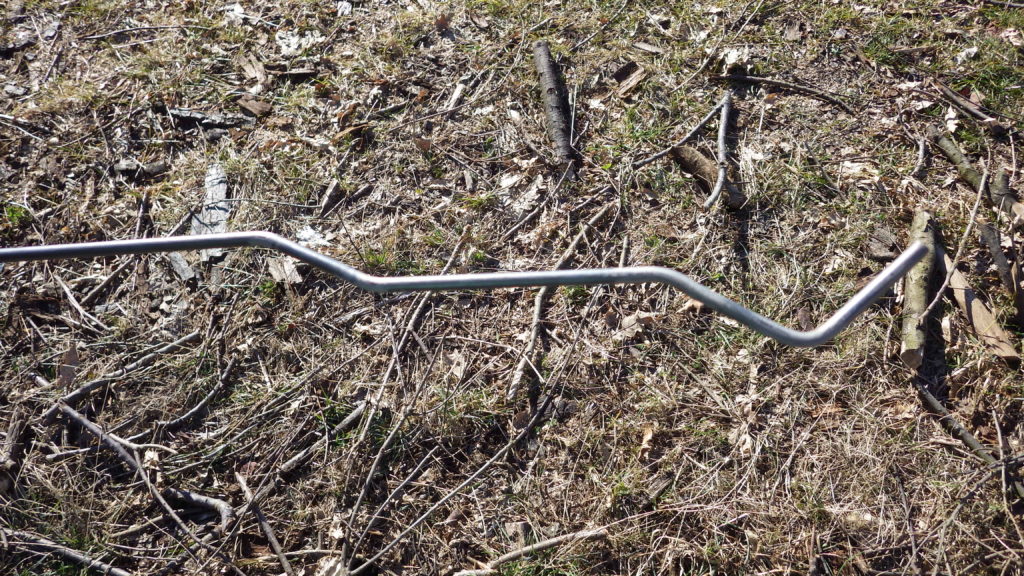
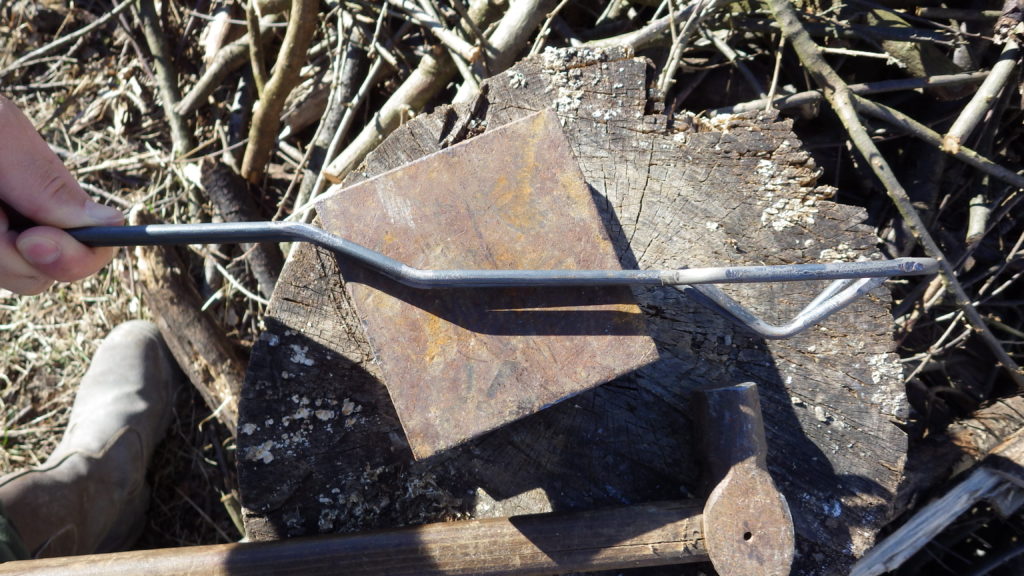
Start by tracing 2 points on the first bar, one evey 5 cm. Bend the one nearest to the end to an obtuse angle, so less than 90°. Bend the second point in the opposite direction until you get the tip of the claw in line with the rod. If you overdo and angle, and need to widen it, just put it with the vertex standing up, like in the last picture, and hit the vertex, the angle will get wider.
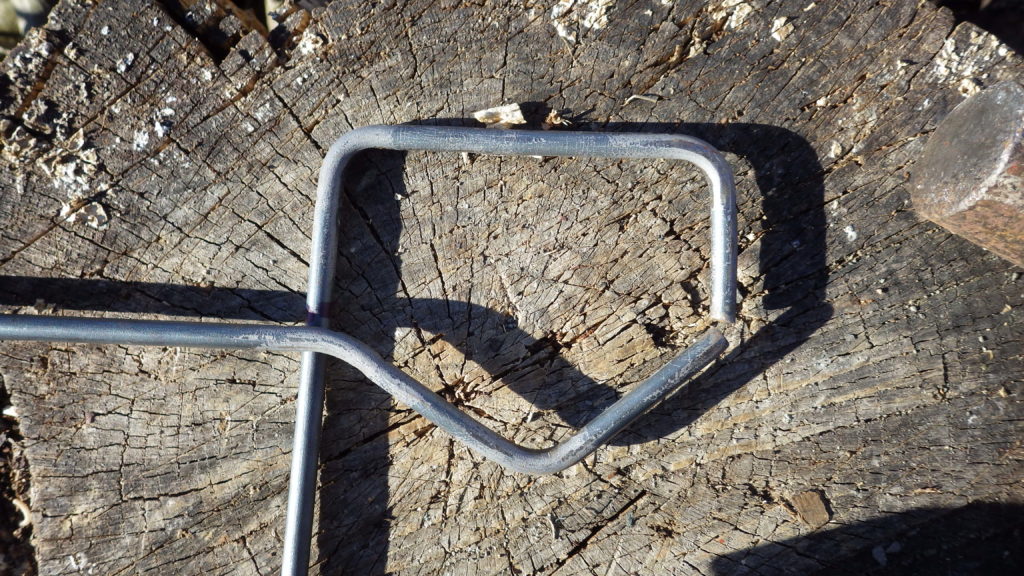
In the beginning I started this project with 6mm rods, so they were less stiff, and I made a first bend that you can see in the picture, that you you don’t need to make since we’re using 8mm.
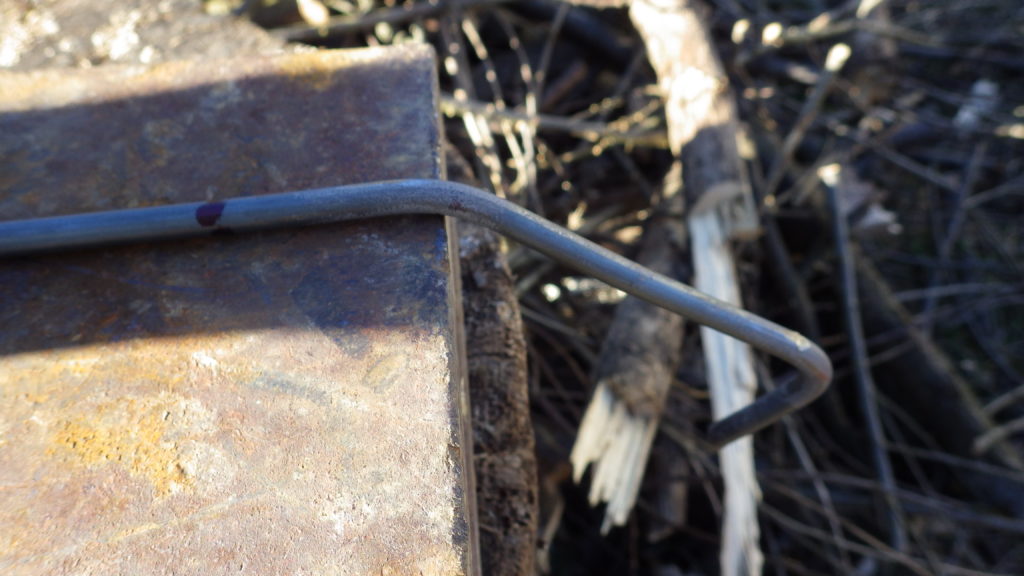
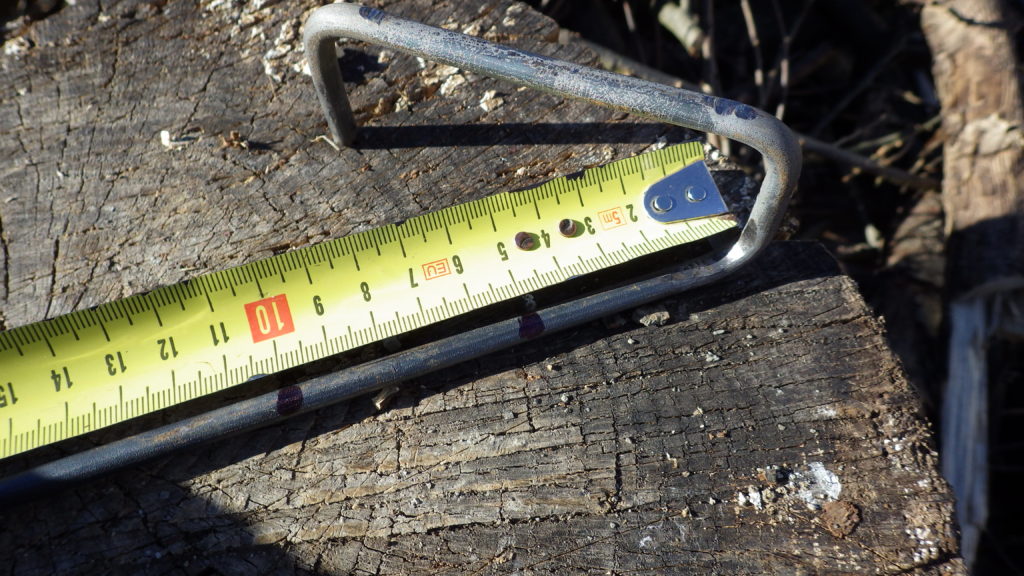
Now, take the second rod, and mark the length of the claw you already made, then mark again at 4cm from there. Bend the first point at 90°, you’ve just made the safety extension I was talking in the beginning.

Holding it like a walking cane you see the position where the extension will be. Since I’m right handed, I will pour turning the crucible counterclockwise, if you’re left handed I would suggest you to make this next bend specular, so the safety will be on the left claw, and won’t get in the way while pouring.
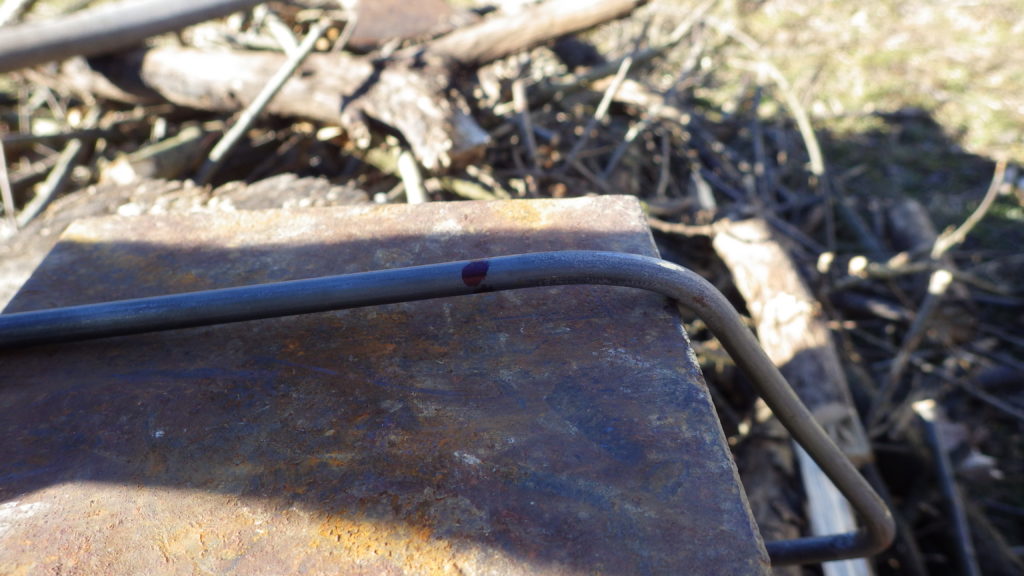
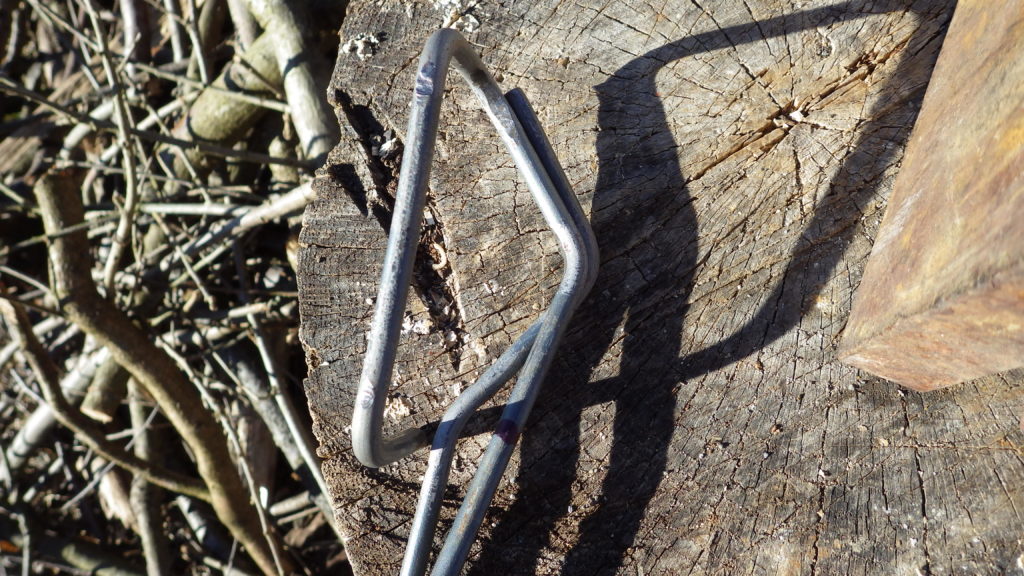
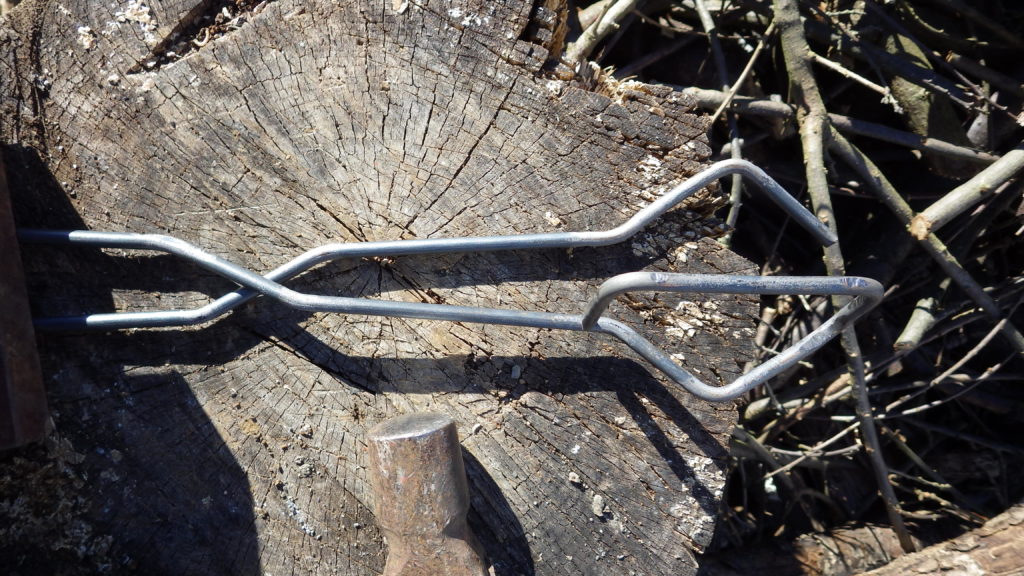
Bend the rod in the second point you already traced, this time bending it not in line, but trying to mimic the angle of the other claw, because the safety rod we just made will have to cross the claw along the straight rod. If this explanation wasn’t clear, the next pictures will make it obvious.
From the last bend, measure again 5cm twice, as when you made the first claw, because you’re just making the second. While bending the angles check them against the others to make a symmetrical work.
Now that you have the second claw the safety rod could be misaligned, this is the right time to align it along the rest of the straight bar.
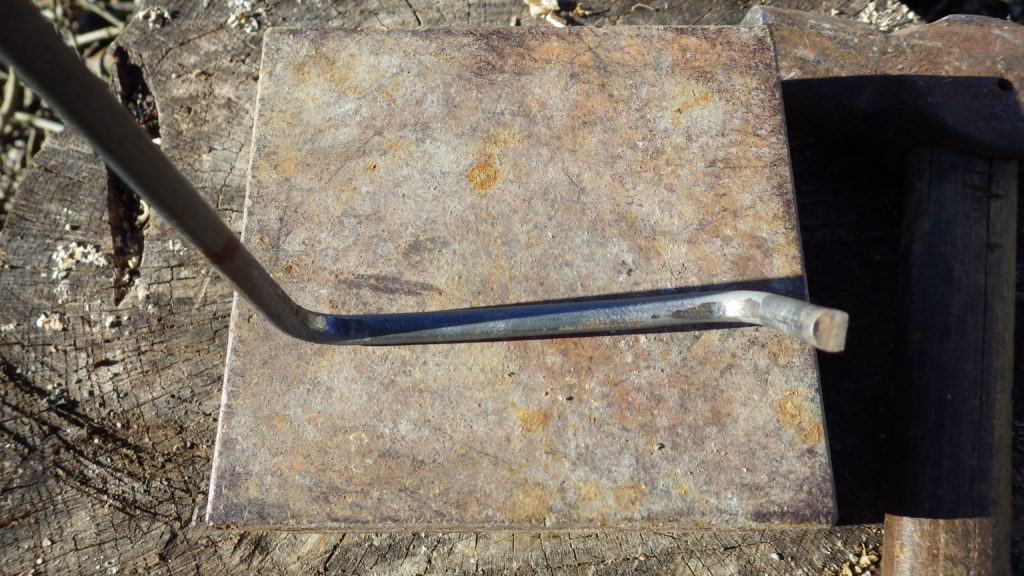
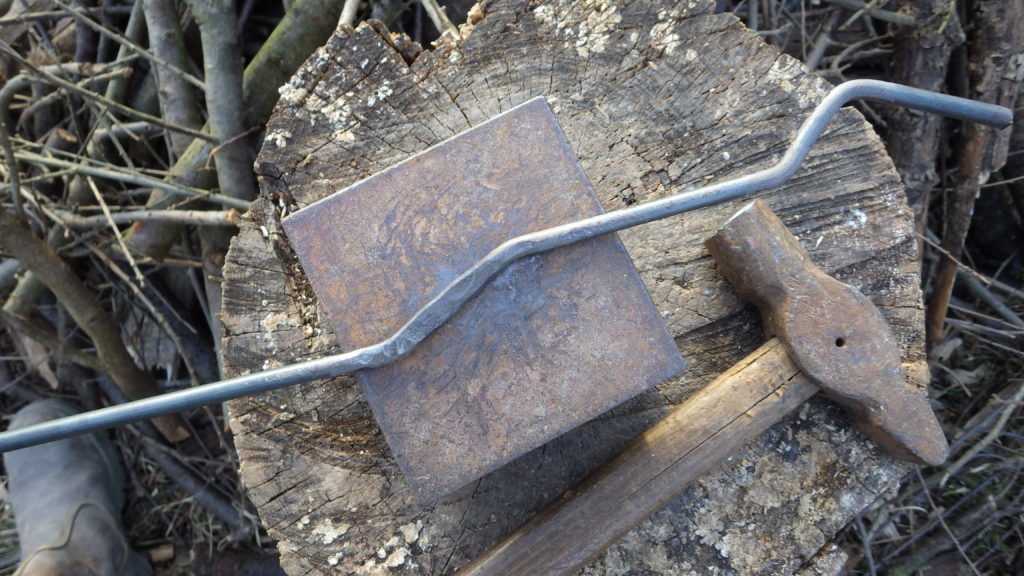
Every time you get fancy angles and you need them flat on the same plane, just lay flat the rod you’re holding, keeping it turned on the right side to have the angle to align raised above the anvil’s surface, then hit that angle a few times, it will get in line.
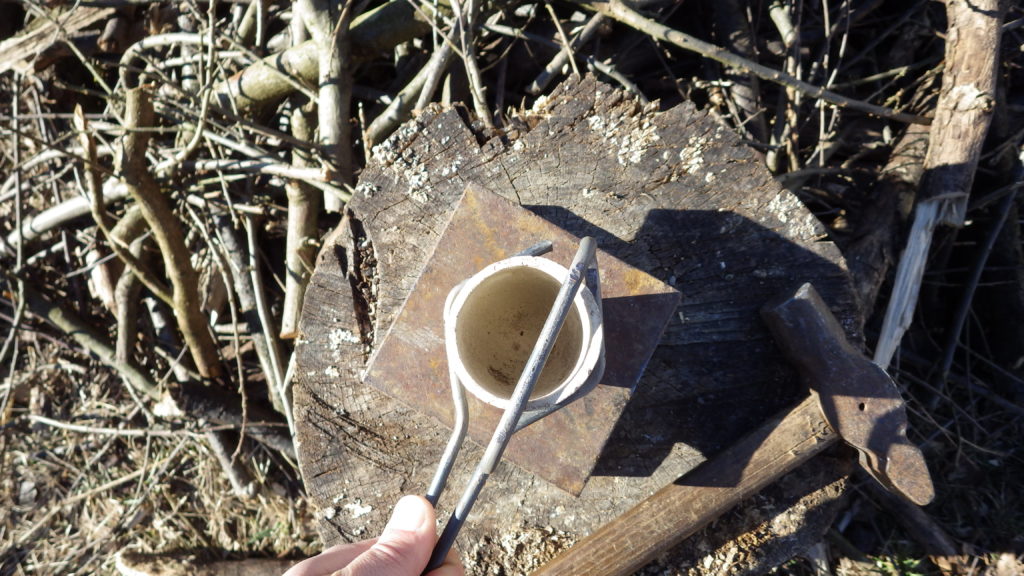
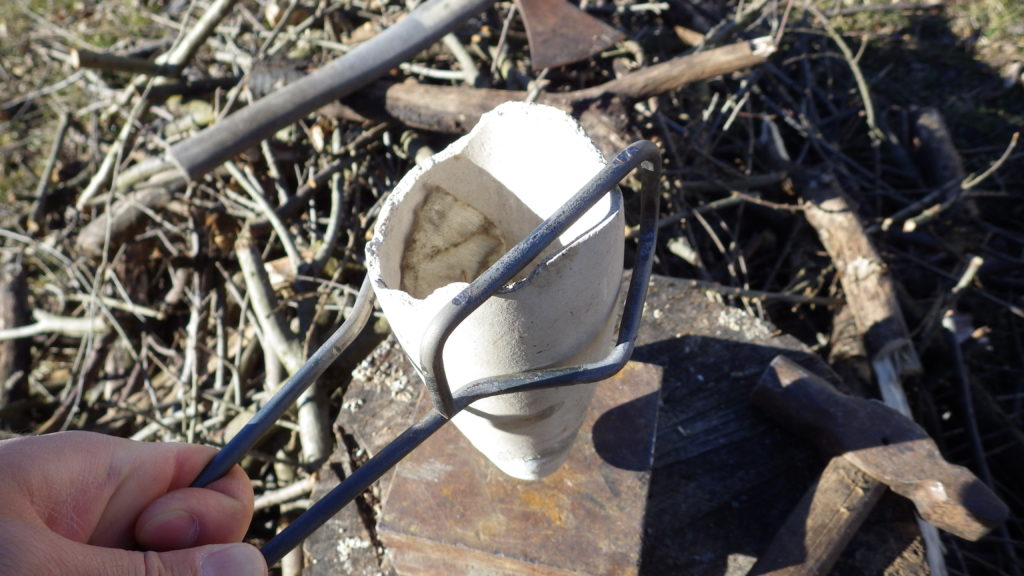
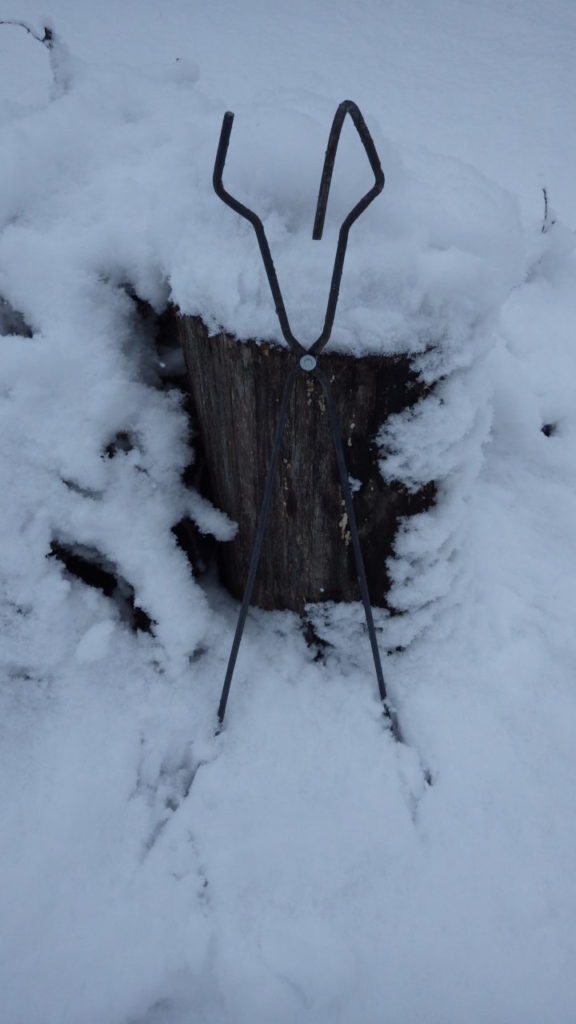
Now it’s a good time to check how well the tongs catch a crucible. If the claws touch each other while holding your smaller crucible, thus making the grip unstable or impossible, adjust central angle of the claws to be wider (and the “wrist” to keep them aligned obviously).

Now make a new mark at 20cm from the tip of the claw. Take the second arm, position it to get the claws’ centers aligned, and copy the mark. After that, make a new mark on both 5cm further along the arms.
Make the first bend inwards, and the second outwards, with the same slight angle, so you’ll get the arm parallel along the same axis. Repeat the process on the other arm, always checking the angles to be sure you’re making it symmetrical. It’s definitely looking like a pair of tongs now!
Now it’s the time when the blowtorch can be useful, it will make the metal a bit softer so it will be easier to flatten the area. Anyway, you can do it the same, it will just take more hits.
Hammer strongly the hinge area until it’s become about 10-12mm wide, turning it often, since you’ll see the bar tends to “cup” around the hits, so turning it upside down serves to straighten it.
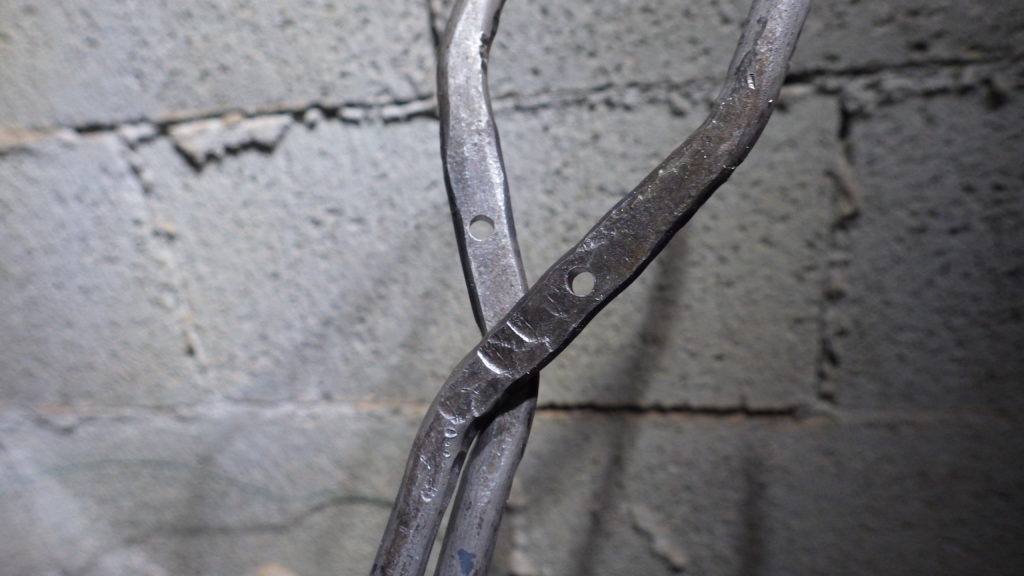
Time for drilling the holes! Drill the first one about in the center of the hinge area, then align the tongs, trace the place for the other hole and drill it.
To make holes in steel you want to use a hard bit, like a cobalt one for example, and to drip a bit of oil where you’re drilling, never pushing hard, but drilling a bit at a time, then putting a drop of oil, then drilling another bit, and so on, this will make your drill bit last much longer!

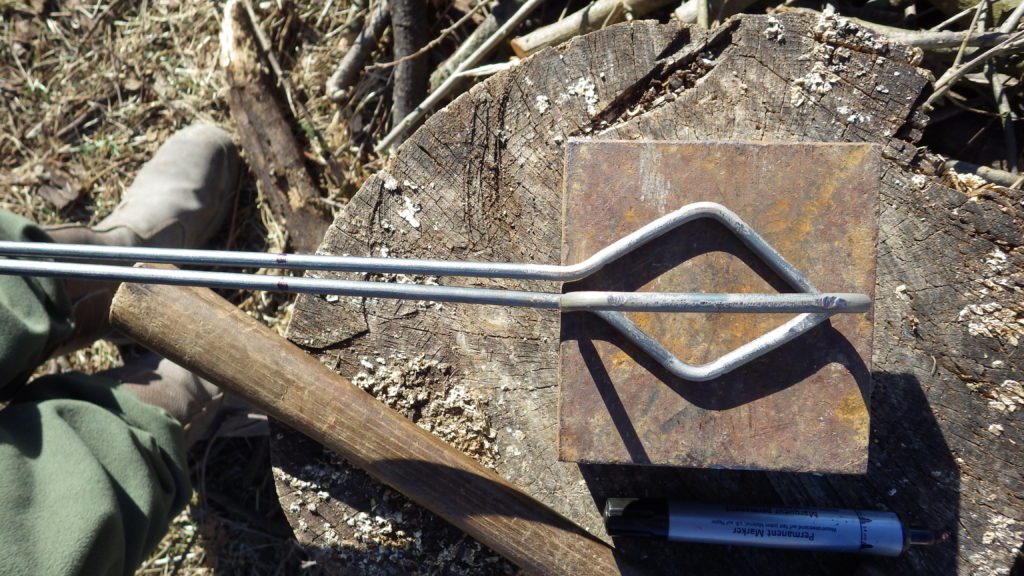
Here you can see that the safety rod is just an L, because 8mm stock is already stiff enough, while with 6mm stock I thought I may weld the safety back to the arm.
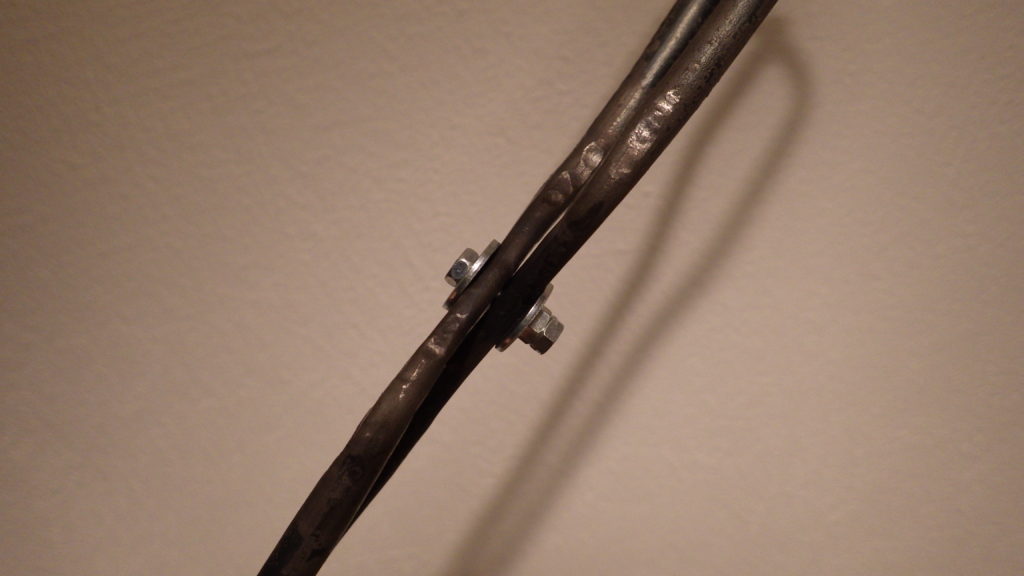
Now you can put the bolt in, with the washers and the nuts. We got 2 nuts because you’re going to tighten loosely the first nut, in a way it doesn’t constrain the tongs but they can move freely without wobbling, and then add the second nut, and tighten against the first, the resulting tension will lock them in place, avoiding completely any chance that they get loose. You may know that locking bolts that never become loose exist, but they have a plastic ring inside that deforms locking the bolt with its tension: it isn’t a clever idea to put a piece of plastic guarding our safety in a tool that’s put near molten metal.
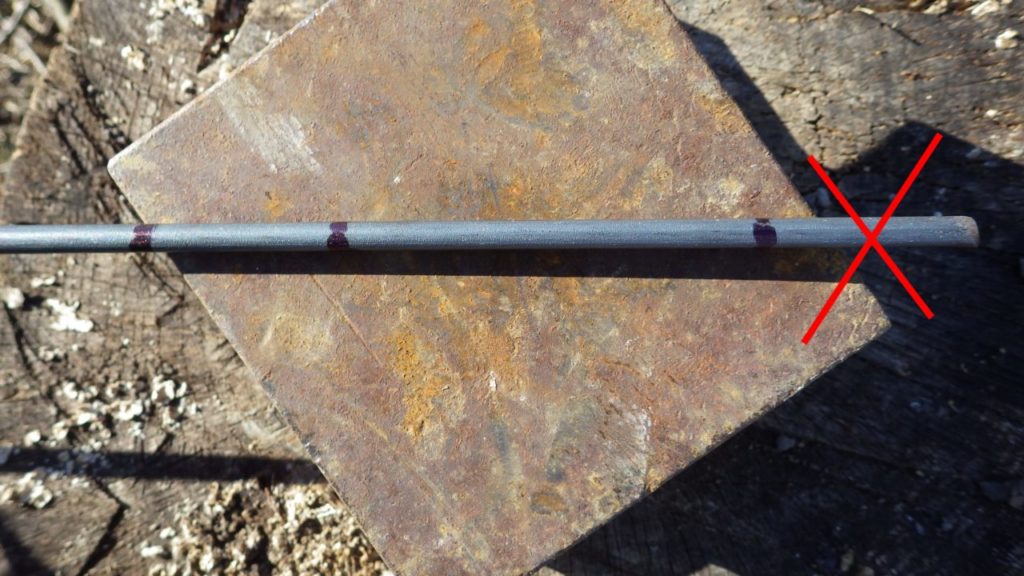
At this point you may find that the tongs are a bit warped so they don’t align well, and it’s not strange, since we made many flat and straight parts by eye on a small made up anvil, and the hinge area have been flattened by hammer blows. To fix it, just lock them above the hinge in a vice, so we don’t put force on the bolt, and with the hands pull and push to align them, it won’t be difficult. Then the final touch, cut the longer arm to the length of the shorter one. The rods I used had jagged ends, so I filed them a little to not risk getting them stuck in the clothes.
Just remember that this is not a tool intended for precision work, it’s just a pair of tongs, they have to be precise enough to hold steadily your crucibles, no more precision in their build is useful.
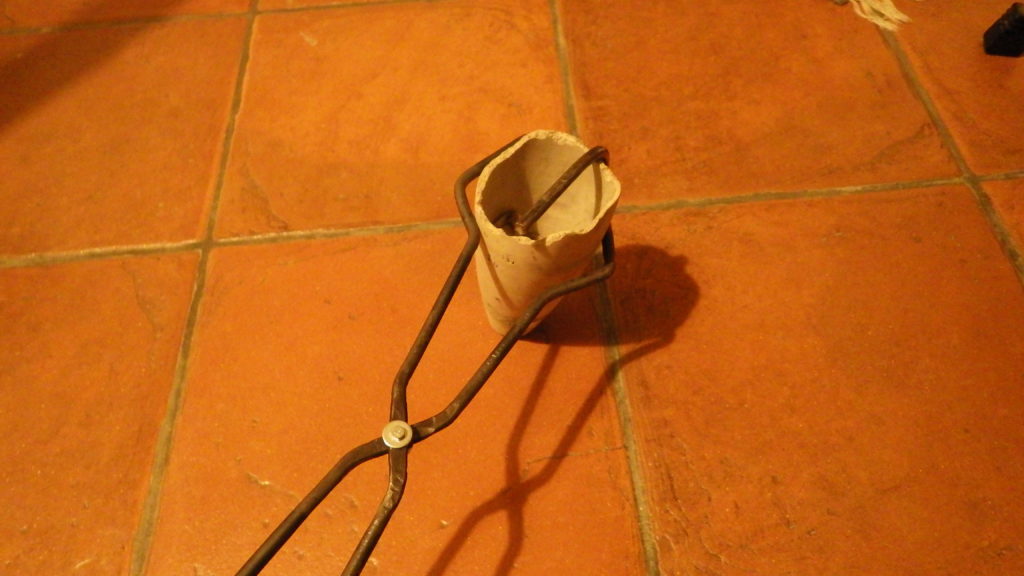
An old big crucible, kept pretty steady! 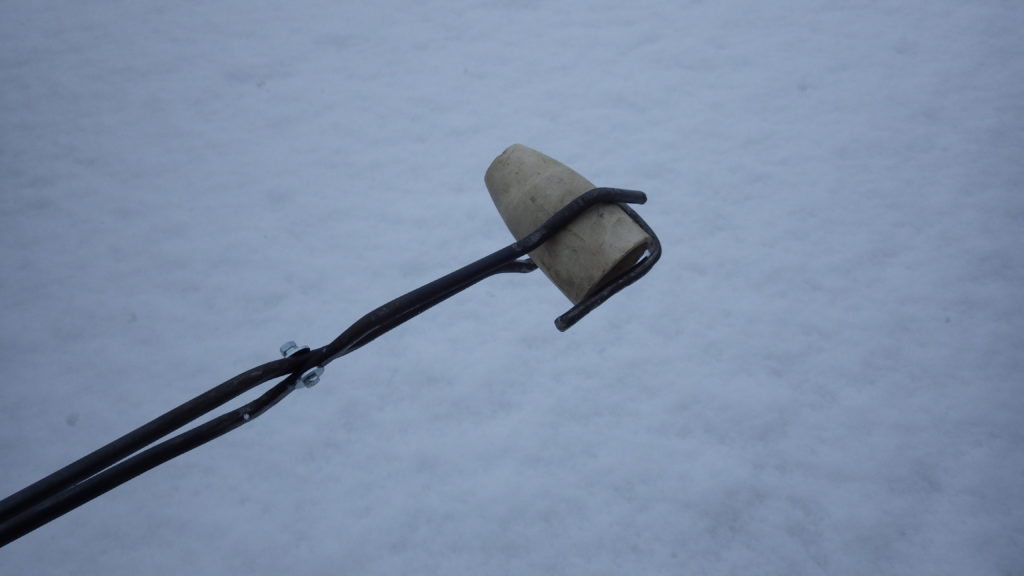
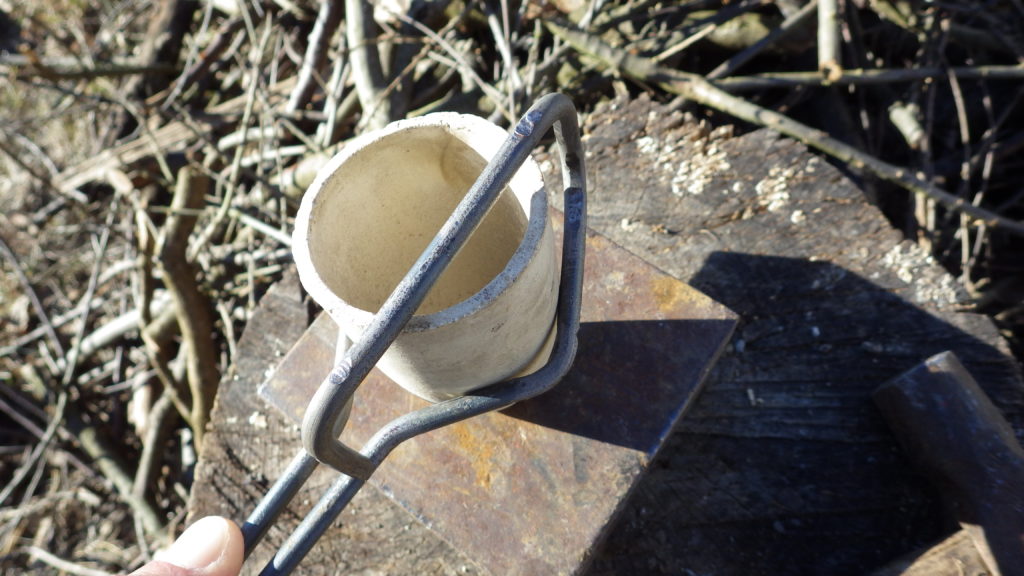
Checking the grip while pouring.
